
*This post may contain affiliate links meaning that if you make a purchase after using them, I earn a small commission, which helps support this blog at no additional cost to you. Keep in mind that I only link to quality products that I use myself and feel would be beneficial for my readers. You can read my full affiliate disclosure here for more information.
I thought I would share with you some of the best tips and tricks that I have learned to crochet better amigurumi. These are the methods I use when making all my stuffed animals and toys. If you follow these 6 tips and tricks for better amigurumi you will be on your way to making the best amigurumi. The best part is these tips can be used with any amigurumi pattern.
1 . Choosing the right crochet hook for amigurumi.
Tension, tension, tension. Have you been getting frustrated with how your amigurumi has been working up? Do you find your stuffing is showing through gaps in your stitches? The hook you are using is most likely to large. One of the most important tips for making the best crochet amigurumi is choosing the correct hook size for your yarn.
Generally, for amigurumi you will need to use a smaller hook than what is listed on your yarn label. The hook you choose will depend on your personal stitch gauge and how tightly you crochet. You will want to choose a hook that will allow to make your stitches tight this is essential to making sure that your stuffing does not show through holes or gaps in your stitches.
Some of the next tips will help to reduce the gaps in your stitches even more but the choosing the right hook size will be the most effective. If you are unsure what size to use, try choosing the smallest size your yarn recommends and if only one size is given try going down one or two sizes.
I personally have a very tight gauge when I crochet so this can be a problem when I try to crochet garments and other items. For most of my amigurumi I use a 2.5–2.75mm hook size with dk weight yarn for worsted weight yarn I would use at least 3mm hook. One of my favourite crochet hooks are the clover hooks you can find them here. I used to different hooks that were similar to clover so I was hesitant to purchase these at first due to the cost but after using them I do not regret it. They glide through stitches so easily compare to my previous hooks and no more squeaking.
-
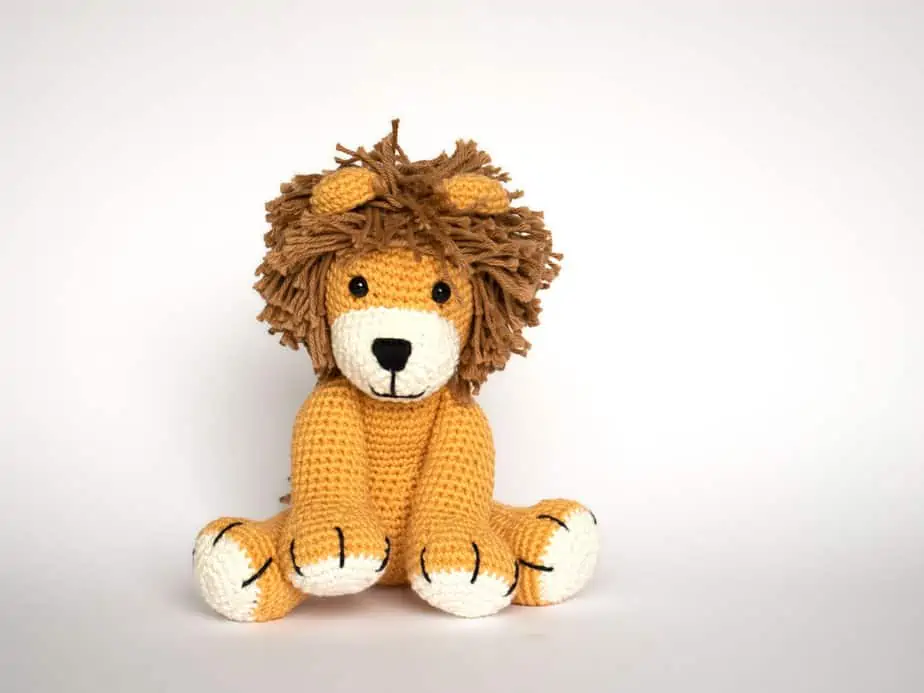
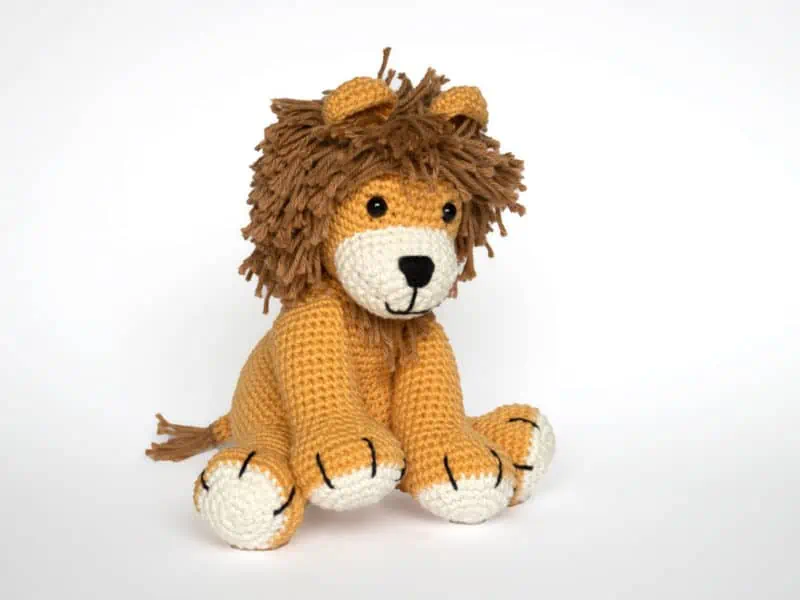
 Crochet Lion€5.95
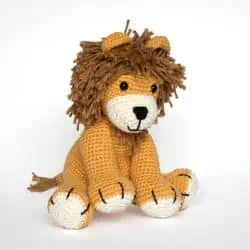
 -
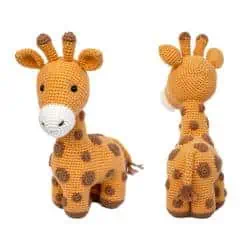
Crochet Giraffe€5.95
-
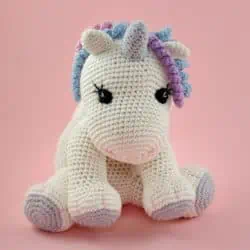
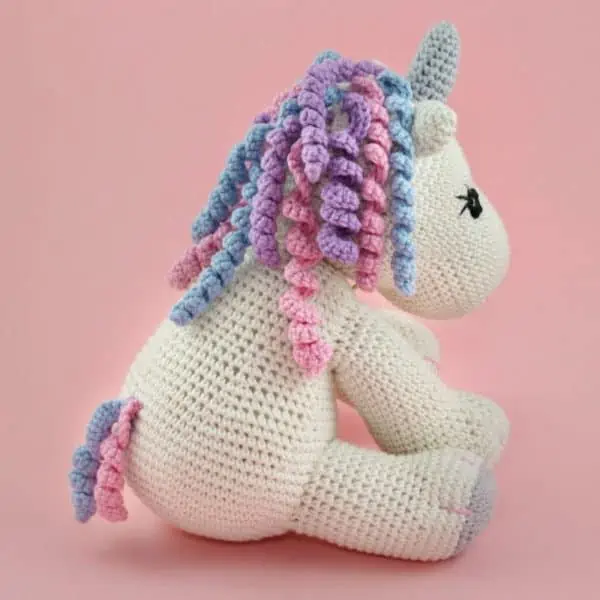
Crochet Unicorn Pattern€5.95
2. Invisible Increase & Invisible Decrease
This first tip is the most useful for tightening up your stitches to remove gaps in your amigurumi but this next one will help make your amigurumi a little bit tidier. The standard decrease stitch will leave some gaps in your work which we don’t want, so by adjusting this stitch slightly we can remove these gaps.
The invisible versions of these stitches are not much different from the original stitches. To learn how check out my tutorial on How to do Indivisible Increase and Decrease.
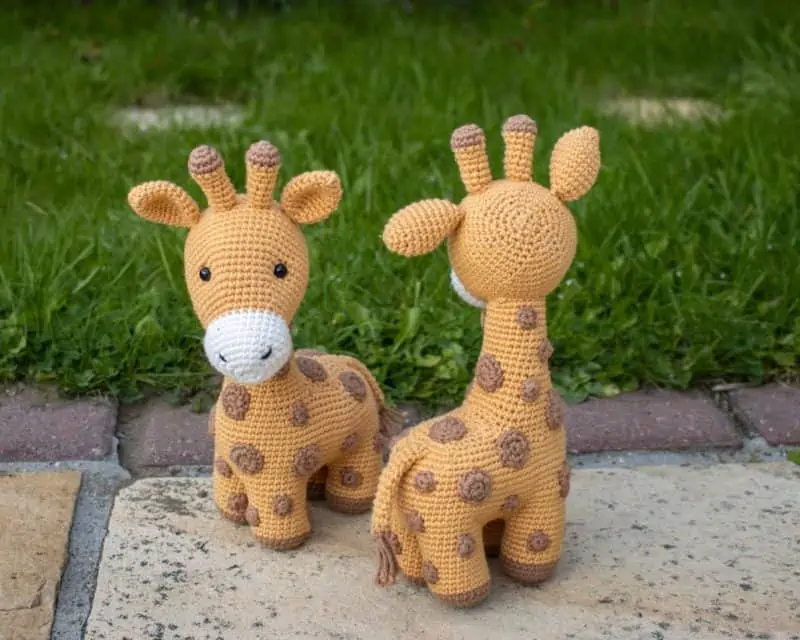
Crochet Giraffe Pattern
3) Don’t Overstuff your amigurumi
This next amigurumi tip is super important as overstuffing your amigurumi can cause some of the details and shapes you made using carefully placed increases to stretch out and loose their shape. Some parts of amigurumi such as the head require more stuffing than other parts like the arms and legs.
It is important to note that your stuffing will compress over time so it is also important not to under stuff your toys as it almost impossible to add more later after you have sewn everything up you will need to be sure you have added just the right amount.
I use polyester filling or fibrefil for pretty much all of my amigurumi. The amount of stuffing I add to my toys is different depending on the piece and the intended use of the toy. For most of amigurumi, I like to stuff the head and body a little more firmly while adding less stuffing to the legs. For some smaller parts like small arms I will not add any stuffing at all.

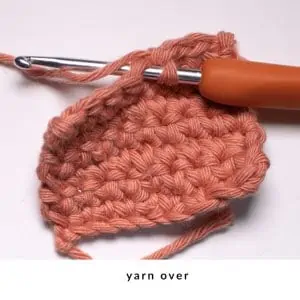
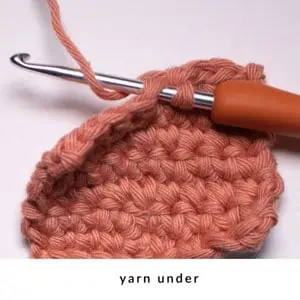
4) Use Yarn Under to remove gaps in your stuffed animal.
You can make great looking amigurumi without doing this next trick but using yarn under instead of yarn over can really help to make your stitches really clean and tidy and it also uses less yarn.
This can take a little getting used to but trust me after a while you will love how much better your amigurumis look.
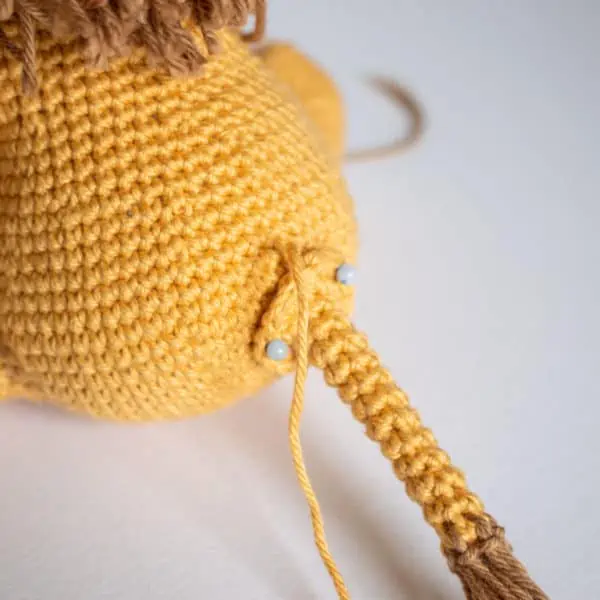
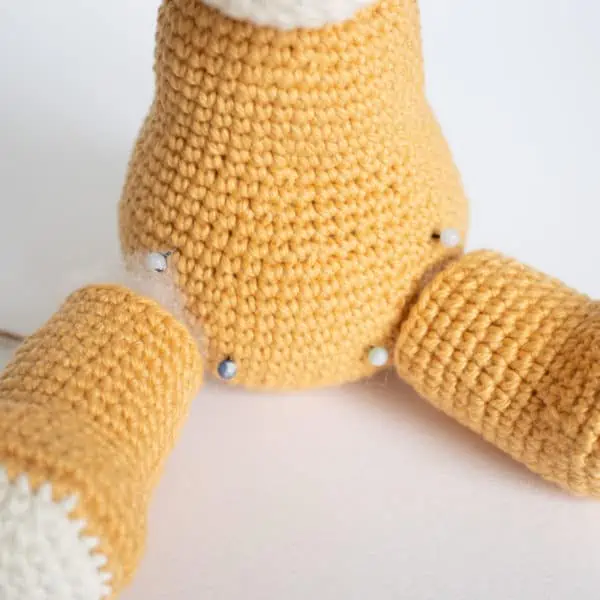
5) Use pins when joining your amigurumi
I always hear how much most people dislike attaching all the pieces together and I must say it definitely isn’t my favourite part either. You can save yourself some of the headache by using pins to secure all the pieces of your toy in place first. This way you can see if everything is correct before you start sewing any pieces in place. Once you are happy with your placement you can start to attach the pieces removing the pins as you go around. For pieces that are difficult to hold in place with pins, you can place the pins on the body (or larger piece) to mark the position and use this a guide.
6) Tips for Choosing the best yarn for amigurumi
There is nothing worse than spending hours making your amigurumi for it to just fall apart when you start to join it together, trust me this can happen. Some wool yarns are just too delicate for amigurumis and will snap when you try to sew the pieces together. When trying a new yarn, I always test its strength especially when making toys for children that will be played with a lot.
I use cotton yarn for pretty much all my amigurumis, my favourite yarn that I am using now is paintbox cotton yarn I love their cotton dk and cotton Aran it has great selection of 56 colours. You can find it here at Love Crafts.
Most amigurumi patterns are best suited to cotton or acrylic yarns. However, you can use most yarn types to make them. You can easily make your amigurumis bigger or smaller by simply changing your yarn thickness. Using a thicker yarn will result in a larger toy. When changing the yarn you may also need to use a different crochet hook


